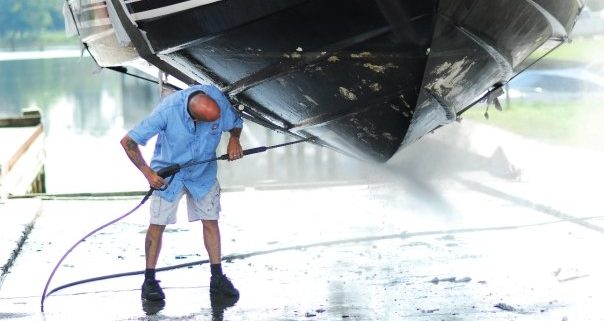
Big or small, basic or customized, every boat needs to be maintained. Fortunately, routine maintenance and small repairs aren’t that tough. In the long run, a little elbow grease will definitely pay off.
The first and simplest task is to wash your boat regularly. If you boat in saltwater, rinse your boat thoroughly with fresh water after every outing to remove salt residue. Salt will not only corrode metal, fasteners and other hardware, left too long on your gelcoat, It can mar that as well. Use a long-handle, soft-bristle boat brush and some quality soap. Marine boatwash is best and is formulated for gelcoat. Car wash soap is next best and some boaters use laundry soap in a pinch.
Change Your Oil
Just like cars, boats need to have their oil changed. Four-stroke outboards, inboards and stern drive boats require regular oil changes. The frequency will vary by model but a good rule of thumb is to change the oil every 100 hours of operation or once a year.
Unfortunately, there aren’t any quick change oil shops for boats, so you either have to change your boat’s oil yourself or take it to your local dealer. Luckily, changing the oil in your boat’s engine is easy and can be done quickly with the right tools.You’ll need an inexpensive oil extractor pump that removes the oil via the dipstick tube. Also, an oil wrench and enough rags to catch the normal drips. As added protection against messy oil, it’s a great idea to put an absorbing pad under the engine, particularly near the oil filter.
Step 1 – If your boat is in the water, start the engine to warm it up. If your boat is on a trailer, you’ll need to supply cooling water to the water intake at the gearcase. Do this by placing what mechanics nic-named “earmuffs” over the water intakes. Earmuffs consist of two suction cups on a V-shaped piece of tubing. A hose fitting at the Vee supplies water to the engine. Outboards and some sterndrives have special hose fittings for this purpose.
Step 2 – After 5 minutes, turn it off and remove the dip stick.
Step 3 – Insert the oil extractor suction tube into the dipstick tube and slide it all the way in until it stops. Pump out the oil. It will remain safely in the pump until you can take it to an oil change shop for recycling.
Step 4 – Hold a rag around the oil filter and remove it with the wrench. Screw on the new one after rubbing oil on the sealing gasket..
Step 5 – Replace the dipstick and fill the engine with new oil through the oil fill port—the cap is marked “oil.”
Some engines have a special drain tube fit to the oil pan. You pull this tube out the bilge drain and drain the engine without ever dropping a drip on the bilge. Some outboards have comparably simple drainage mechanisms as well. Check your owner manual for the exact procedure.
Be sure to use marine grade oil in your boat engine. Boat engines work much harder than car engines and automotive oil isn’t made to protect marine engines.
Check the Propeller
If you have an outboard or stern drive boat you should check the propeller as part of your pre-launch routine. Use a deep well socket to remove the propeller several times during the season to make sure discarded fishing line hasn’t become wrapped around the propeller shaft. If it has, have your dealer inspect the gear case because fishing line can cause gear case leaks and that is not a do-it-yourself job.
While you have the propeller off, inspect it for nicks, dents and other signs of damage. It’s alright if your prop is missing paint, but send it out for repairs if you find signs of impact. The smallest dent can cause your boat to lose performance and burn excessive fuel. A damaged prop also can vibrate, putting too much stress on bearings and seals causing additional damage.
Finally, put a liberal amount of waterproof grease on the propeller shaft to prevent corrosion from “freezing” it in place. Then re-install the propeller and hardware in the same order that you took them off. Tightening the nut snugly and secure the locking tabes against the nut so it can’t back off the shaft threads.


